This a Pinterest ",I did that!" Tie dying with Sharpies, I would say that it turned out pretty nice. I slowly, with trial and error learned the idiosyncrasies of the technique. I plan to develop this idea even further.
You will need:
* Sharpies (Bet you didn't see that coming.)
* Alcohol (The rubbing kind, not the drinking kind)
* Dabbers (Such as ear swabs)
* Spray bottle
* Your choice of fabric (I started out with tea towels.)
The first technique was drawing designs, such as flowers on the fabric with the Sharpies. Then, you dab the alcohol on the drawn lines. Note, that if you lift the fabric the lines will run in the down direction, it makes a cool effect in it's own way. Unless, you want the ink to run in a specific direction, keep it flat until the alcohol is somewhat dry.
The next technique employs a bunch of bunching. I started in the center and grabbed up the fabric Then twist the fabric tightly. While holding your fabric in place, color the edges of the twist with your chosen marker. Let the twist go, Then gather and twist a few times. On the next gather and twist, i found it nice to change color. Repeat a few times with your new color. Now find a few different places in the fabric to spread the design. I did this expansion by doing smaller gathers and alternating single colors, here and there. I then hung the towel on the clothesline and used the spray bottle willy nilly. Remember the ink will run in the down direction. I turned the towel and sprayed again to get the ink flowing in two directions.
The final technique, for now, is a combo of the first two. I folded the fabric into triangles and colored the edge. The starting point of the triangle is in different places. Then, I drew organic shapes in the center of each triangle fold. I hung this one on the line and prayed, as well. I turned this one in four directions.
The plant that bothers many people trying to have a nice lawn, is the same one that can be used for several natural products....You guessed it, Dandelions!
These are the early season dandelions left over after I mowed. I picked them along with the unopened buds to make capers.
I left plenty for the bees, as it is an early season food for them.
Dandelion promotes hair growth with many vitamins and minerals. As a hair rinse the benefits also include dandruff control. Topical solutions of dandelion sooth bug bites and stings. Also, the plant is a good anti fungal agent.
When I was done crawling around the ground picking the select parts of the plants, I spread the flowers on a tray and dried them in the oven on very low heat, as low as the oven will go. This will take a few hours. When the flowers were dry, I divided them into 2 jars and covered with one lot with canola oil, the other I covered with apple cider vinegar. I set this aside for 24 hours. Strain the next day and do it all again.
After the double infusion, strain again.
To the oil add any other
essential oil you would like and a few tbsp. of vitamin E oil.
To the
vinegar infusion add 1/4 c. coconut water.
Keep in a pretty bottle by the shower, or tub.
Lather! Rinse! Repeat! ....Or as the case may be, rub or massage in, repeat.
I tried my hand at Sharpie Mugs.
The link shows the different types of results from different markers
and baking times and temperatures. This project has the potential for making
very nice customised gifts! The dandelion design is timely, as they
cover our garden at the moment. It was the easiest design to show in steps as well.
I did the finer details with Fine tip metallics in silver, gold and copper.
The designs I've done below are doodles that get addicting while
enjoying a night of telly, or outside on a sunny day. So get out your Sharpies and inexpensive
mugs to make something unique.
Watch out you will find yourself up past your bedtime.
Just go crazy with creativity, then bake them at 250 deg. F for 2 hours.
Just a quick look at Pinterest will show many other ideas with this Sharpie technique.
How many people pin away on Pinterest and then forget to actually remember to do the projects they had intended. Well, no exception here usually, but there are a few flickers of light! The flickering light will be highlighted, both good and bad on this blog in a segment called "Pinterest, I did that!"
The first Pinterest, I Did That! will be coasters. These coasters have a few improvements. In fact, I will have to do at least two different posts about coasters....But, first, Alcohol ink coasters.
I had to do a bit of shopping and improving before I got to my final project. I started with the Pinterest pin with white tiles and bright colours. They are relaxing to do, you get lost in time as the colours intermingle. The problem with these tiles are they are not glazed on the edges. I didn't like the messiness of the edge. I can see using these as tiles in a tray , or something that the edges are hidden. I also have some other ideas to fix these, I smell a future blog, or is that just the fumes?
I went back to the DIY store and found some 4x4 glass tiles. Niiiice! The edge is glazed and pretty, so the ink doesn't soak in, thus it doesn't become a permanent feature.
Put on your googles at anytime you feel it is necessary.
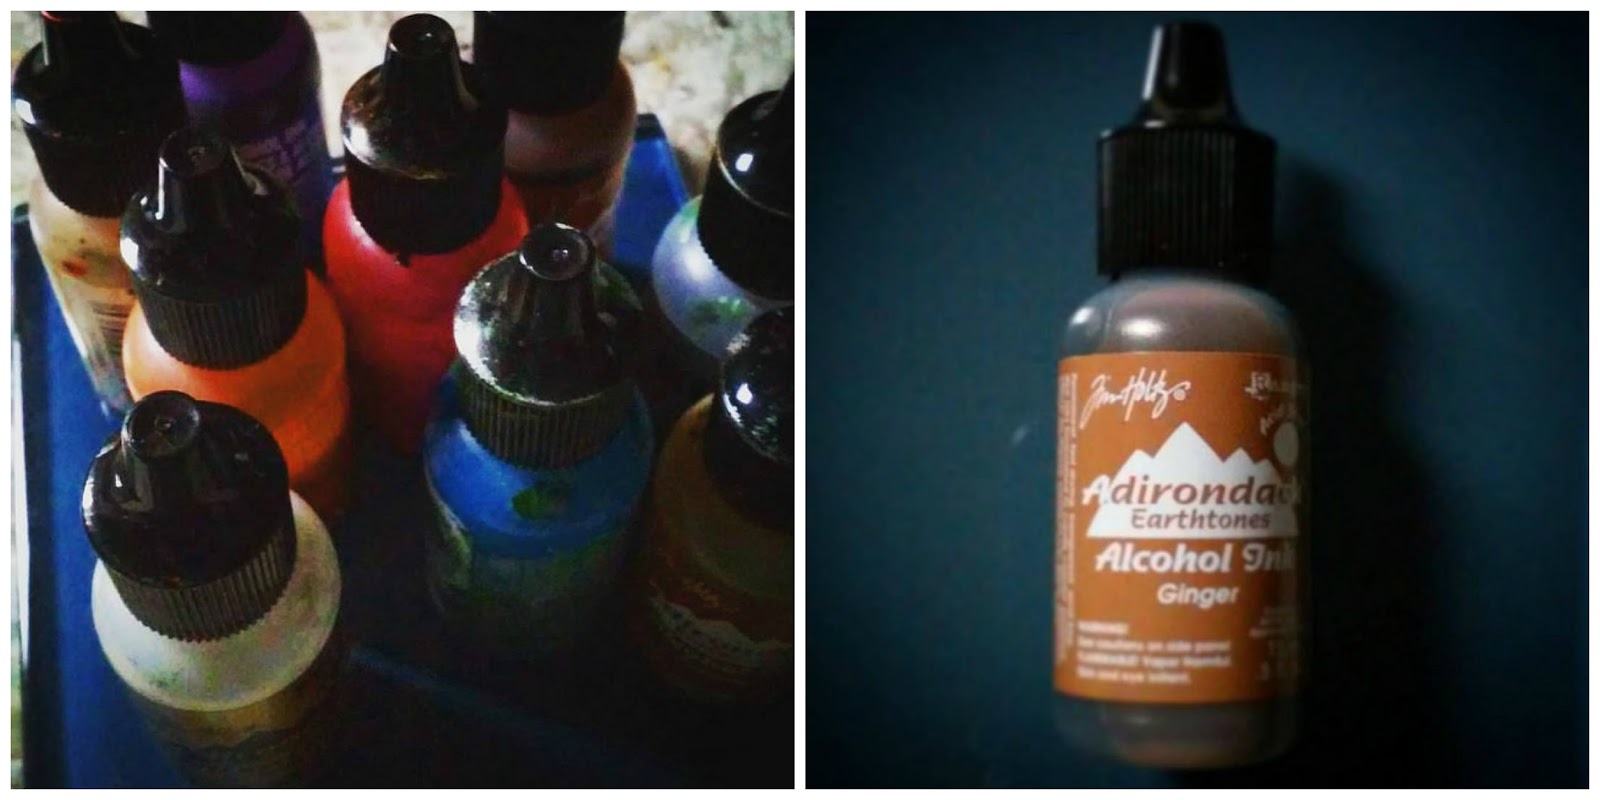
I have a blast with these Alcohol inks! They come in sets like earth tones, blues and greens, or reds and orange. There plenty more options with the colours.
I'm not sure what other brands there are out there. This is the only one I have run across.
Ok, Let us get started. Choose your palette. Place your tiles on a solid surface that you don't mind getting messy with paint, I use an old baking sheet. Put on some gloves. Rub tiles with alcohol to get a flowing base for the paints going.
Start dropping the ink onto the tiles and watch as the colours grow into organic shapes. It makes it even more oplulent to add mixatives to the palette. I added both gold and silver to mine here.
For this example, I picked the tile up on a diagonal and let the wet ink run, as you can see in the last picture. just the good old drops look nice, as well. U can add more drops to the running ink, repeat the diagonal pick up, repeat drops....Keep going until you get the desired effect. Don't worry if it runs onto the edges, we can take care of that later.
Let your ink dry.
Here is an example of just drops left to dry and not running the ink sideways:
Now you will find that some of the ink gets soaked into the back of the tile. I just add to it to create the final back. Here I dropped more ink and while it was still wet I rubbed the colours together with a gloved finger. Mind the front of the tile by making sure it is completely dry and try not to drag it, as the colour can flake off before it is sealed.
Let everything dry completely.
Now you will need fingernail polish remover and paper towels. This will clean the edge of stray ink. Mind that you don't get the remover on the front and back surfaces.
The tiles look great at this point, but you can add a bit more bling to them by adding metal leaf flecks. Set up your spraying box, outdoors where it is well ventilated. Tear off the leaf and rub into your hand to break it up. apply where you would like it on the tile. Lightly spray your glaze from quite a distance to adhere the leaf. If you spray too close it will move the leaf. After you adhere your leaf and everything is how you want it, it is time to put a good coating of glaze all over the tile.
Some notes about the glazing process:
-I have used other brands of glaze that didn't work as well as the one pictured.
-After a smooth coating of the glaze, you can go over the tile again with a spattering of spray to create a different texture and look. Hold the can at a longer distance and use short bursts.
Dry completely!
Apply surface protecting pads. These come in many different forms, here is what I used:
Here is another colour scheme I did.
When I give these as gifts, I like to bundle them like pictured. I mixed colour schemes here for a sort of sand and sea look.
I tried using Sharpies for the paint. There is a Pinterest pin saying it is a way to save money on the inks. I tried it for the glass tiles and it was a disaster! I wait for the inks to go on sale and/or use coupons to reduce the price, for nicer glass tile coasters. I will be testing the Sharpie idea further however, reporting back any relevant findings.